Here's how to use the HoloLens Emulator
![]() 5 min. read
5 min. read
![]() Updated on
Updated on
Share this article

Improve this guide
Read our disclosure page to find out how can you help Windows Report sustain the editorial team Read more
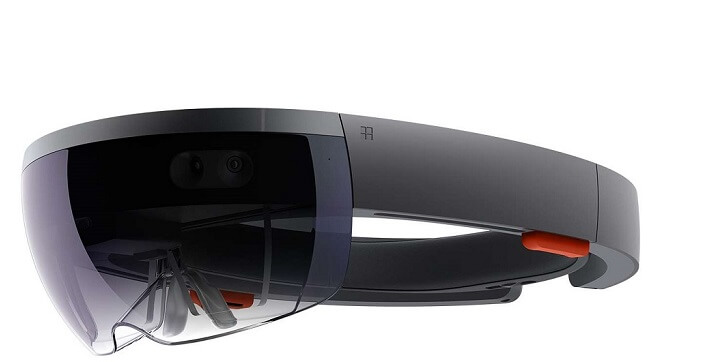
If you are curious about the HoloLens, but don’t actually have one, then you can try using the HoloLens Emulator to give you a feel of how its apps work. The emulator also comes with a development toolset that is designed to attract developers to create more applications. Below you will find information on how to use the emulator.
How does the HoloLens Emulator work?
The HoloLens Emulator uses a virtual machine called Hyper-V. This virtual machine simulates both the environmental and human inputs of a HoloLens. However, instead of a HoloLens, you will use an Xbox controller or mouse and keyboard for controls. Furthermore, with the emulator, applications run exactly like how they would run with a real HoloLens.
How do I deploy applications on to the emulator?
- First, you will need to download an official Microsoft application called Visual Studios. It is important to note that if you are using Unity you will have to first build your project through Unity, then load it onto Visual Studios.
- When all said and done, make sure that the Platform is set for x86.
- Next, select the HoloLens Emulator for debugging.
- Open the emulator and deploy your application to start debugging it.
How to control the HoloLens Emulator
Controlling the HoloLens Emulator is actually not a very difficult task. I’ve mentioned before that you also can choose to use an Xbox controller or mouse and keyboard. Controlling the emulator is just like controlling a three-dimensional video game.
The way it works is input from your Xbox controller or mouse and keyboard moves a simulated user that is wearing a HoloLens. Basically, it would be just like controlling a character in a video game. Your input will be read by the apps as if it were a real HoloLens.
What are the controls for the emulator?
Here are some controls that you can use on the mouse and keyboard:
- Move left, right, forward, and back – A, D, W, and S keyboards keys.
- Look Around – Click and move your mouse.
- Bloom gesture – Press the f2 key or Windows key.
- Air tap gesture – Enter key or right click on the mouse.
- Movement of your hand for scrolling – Hold the right mouse button or hold the alt key then move your mouse around.
Here are the controls for your Xbox controller:
- Move left, right, forward, and back – Use the controller’s left stick to move around.
- Look Around – Use the controller’s right stick to look around.
- Bloom gesture – Press the B button on the controller.
- Air tap gesture – Press the A button on the controller.
- Movement of your hand for scrollig – Hold A and Right trigger down while moving the right stick down or up.
What are the features of the emulator?
Once you launch the emulator you will be brought to the main window of the HoloLens operating system. On the right side of the main window you should see a toolbar. This toolbar is highlighted in red.
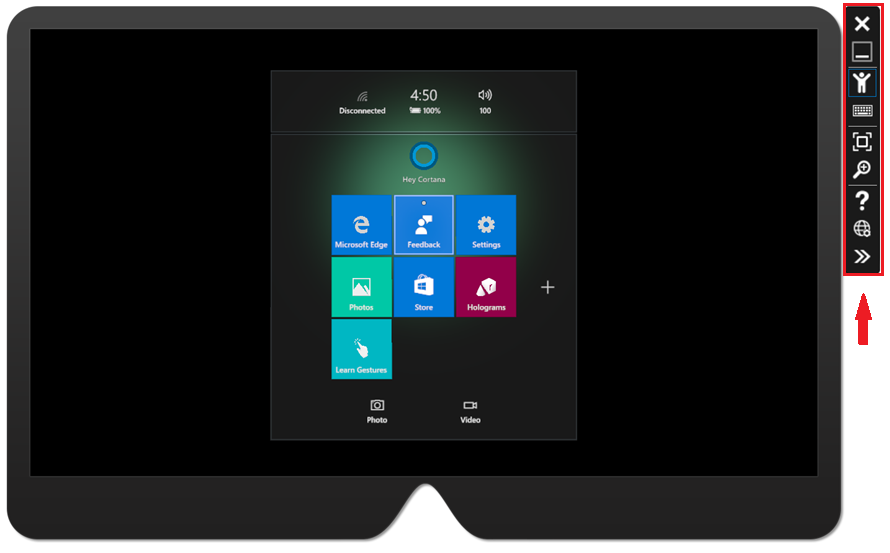
As you can see there are nine buttons on the tool bar. We will explain each button starting from the bottom to the top.
- The first button that looks like 2 arrows pointing to the right is the additional tools option.
- The second button is called the Open Device portal. As the name suggests, clicking on it will lead you to the Windows Device Portal that is designed for the HoloLens operating system.
- The third button from the bottom up is the help option. The button has a question mark on it and you can use it to help you solve a problem.
- The fourth button lets you zoom in or out of the emulator. You can recognize it by the magnify glass on it.
- The fifth button makes the HoloLens Emulator fit your entire screen.
- The sixth button is marked by a picture of a keyboard.
- The seventh is called the human input option. Clicking on it makes your mouse and keyboard simulate human input into a HoloLens.
- The eight and last option closes the emulator.
— RELATED: 4 of the best Virtual Reality software for Windows 10 PCs
What are the options available in the addition tools option?
You will be presented with four tabs when you click on the additional tools button. In this section we will talk a little about each tab.
1. Simulation Tab
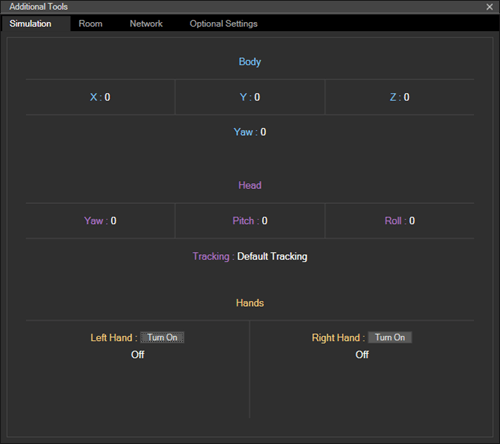
The first tab is the simulation tab. Here is where you can configure the simulated sensors used to control the operating system of the HoloLens. You will find tooltips telling you how to change the value.
2. Room Tab
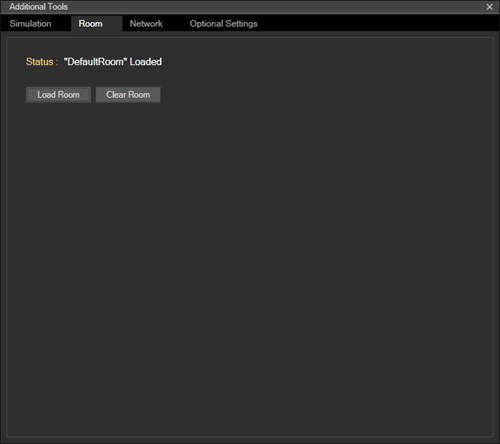
As you can see, in this tab you can test your applications in simulated rooms. Downloading the emulator will automatically give you several rooms that you can try out. These rooms were actually captured by the HoloLens in real environments. Note, anyone can record their own rooms with a HoloLens.
3. Network Tab
This tab has an option that lets you sign in with a Microsoft Account. When you sign in you will be able to configure the emulator, among other things.
Conclusion
The HoloLens Emulator is an amazing tool that you can use to test apps and rooms for the HoloLens OS. Remember, you will need a PC that can handle virtual machines, so make sure you check your specs before you install the application.
Read Also: